Quick Start
Here we will walk through the basic usage of the C3 Review App including how to install the program, load and view data, add a calibration file, and annotate your first images.
Installation
C3 Review App is open-source and will continually be pushing out new features and changes.
See Home - Installation for installation instructions.
Once the C3 Review App is installed, open the program and you will be taken to the C3 Review Web Application. The first step is to load in your data.
Loading Data
Loading data is quite simple.
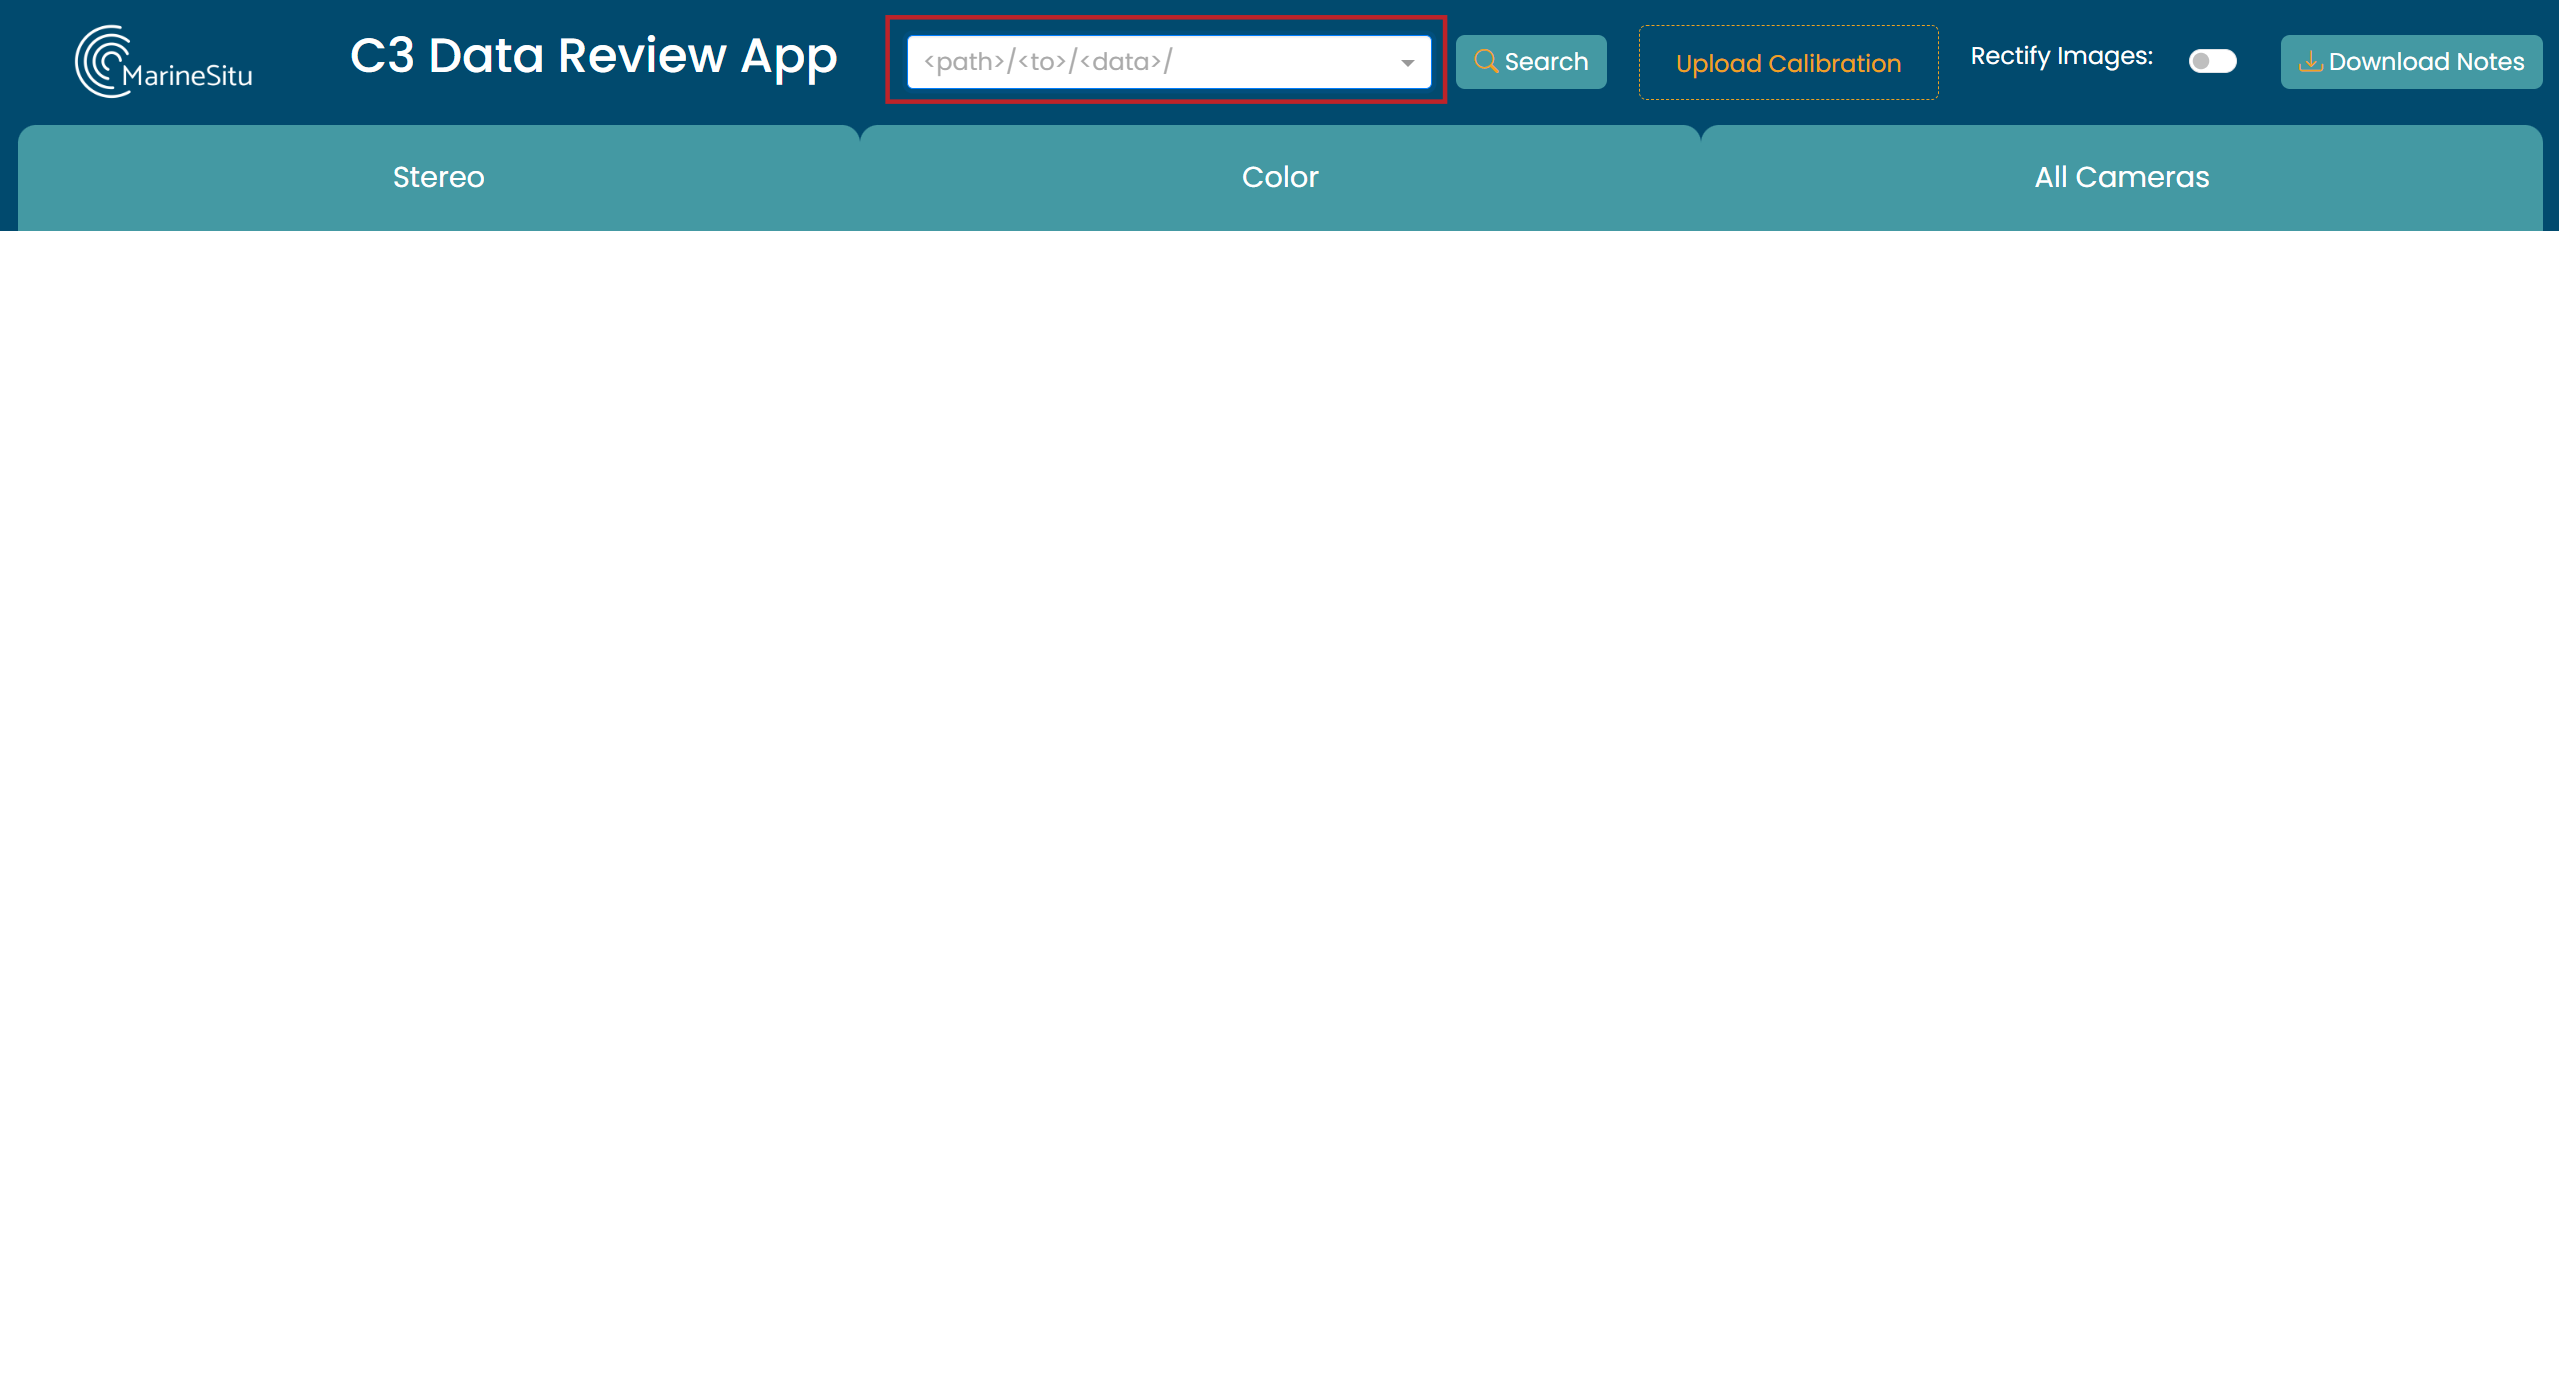
If you're running the app in a Docker container, the input bar will be a dropdown of all available folders. Start typing the directory name, and if the folder is mounted correctly, it should be selectable. Select the folder you want, and click Search.
If you're running the app locally while within c3-data-review-app/app, you will simply enter the absolute path to the directory of your dataset in the input bar and click Search.
The app will automatically parse the timestamp information and images associated with each of the two stereo and one rgb camera. If your dataset is large, this make take a few moments to complete. This process assumes that the image sets are locally available and separated by device (left, center, right). And that either EXIF timestamps are available or the timestamp is simply encoded in the filename by snapshot-YYYY-MM-DD-HH-MM-SS-MS.jpg
You should see a small text confirmation when your dataset has loaded.
Loading a Calibration
Some datasets might have a calibration file already included in the saved directory, this file is should be named calibration.json. In this case - you don't have to do anything, the calibration will automatically be applied.
If you'd like to replace that calibration with a new file, you can still add one to override the existing.
To add a calibration, you can either drag and drop your file onto the Upload Calibration box, or click the box and browse for it in your filesystem.

You should see a small text confirmation of the file that has been uploaded. Note: this process expects a json filetype and in Luxonis format.
If a calibration is not loaded and is needed to perform a task, you will be prompted to upload a file.
Viewing the Dataset
After loading your data, it may seem like nothing has happened. This is because you have to decide which data you want to look at. You'll need to select a tab - Stereo, Color, or All.
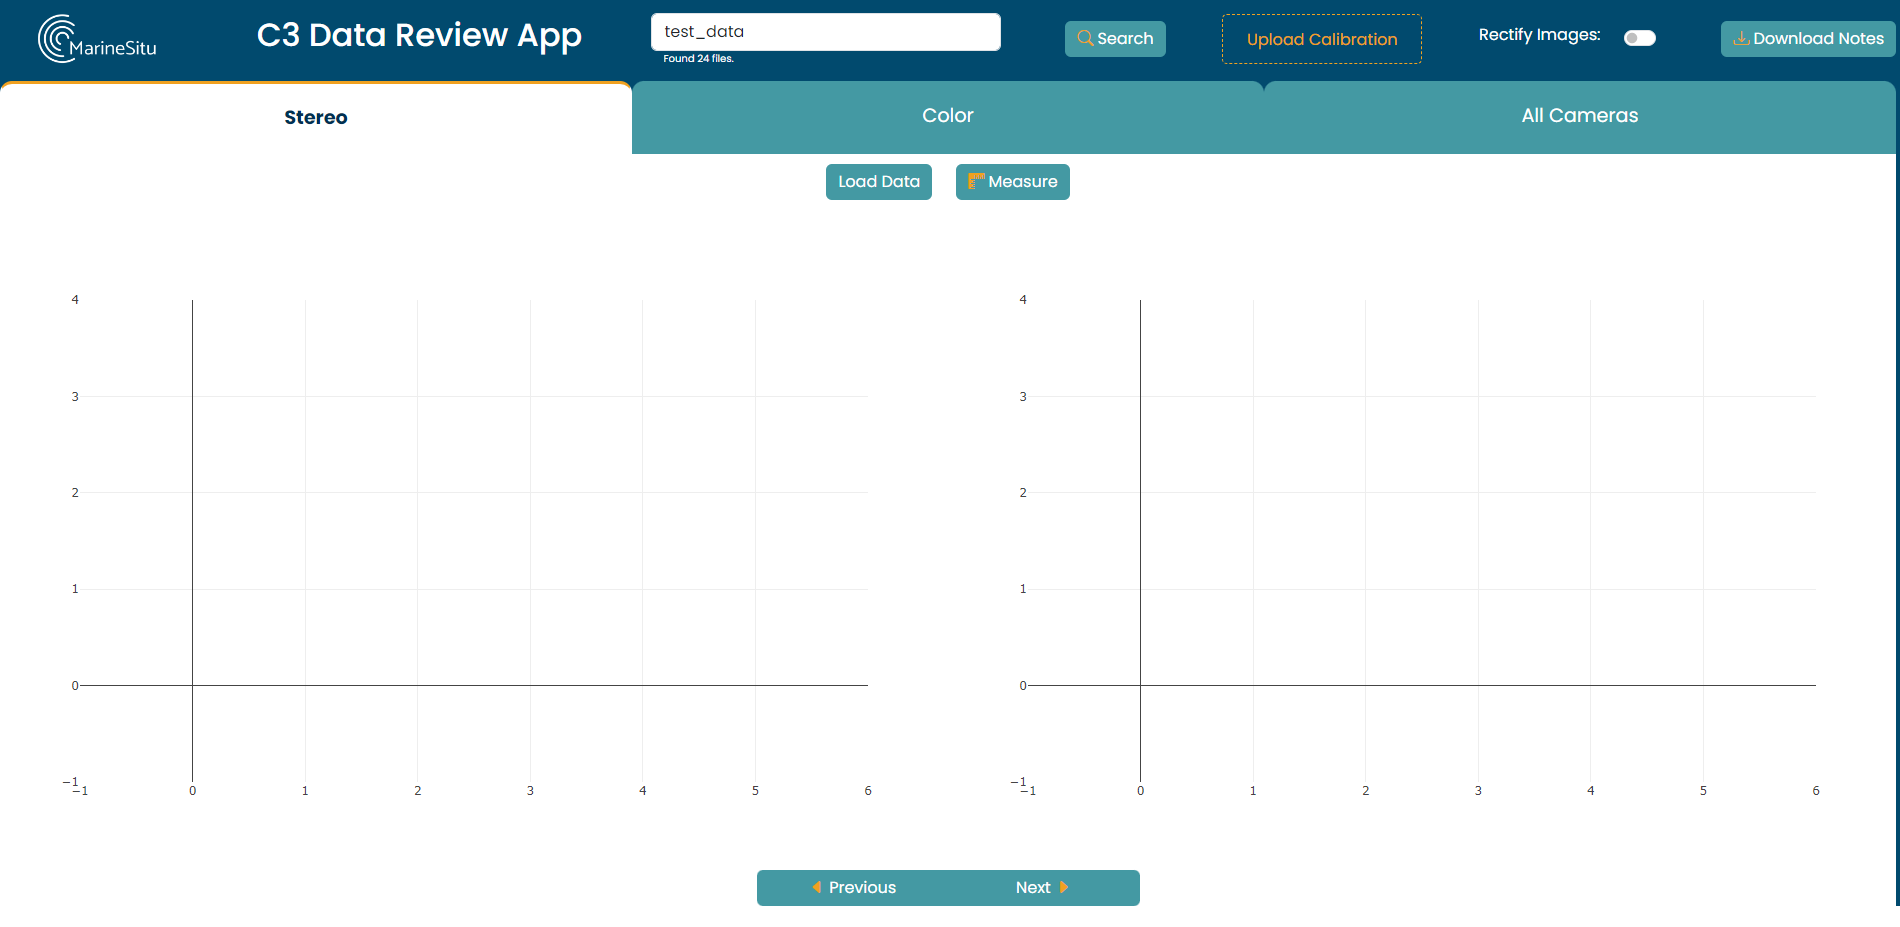
You'll see some placeholder graphs and new controls appear. Click Load Data to see your first images.
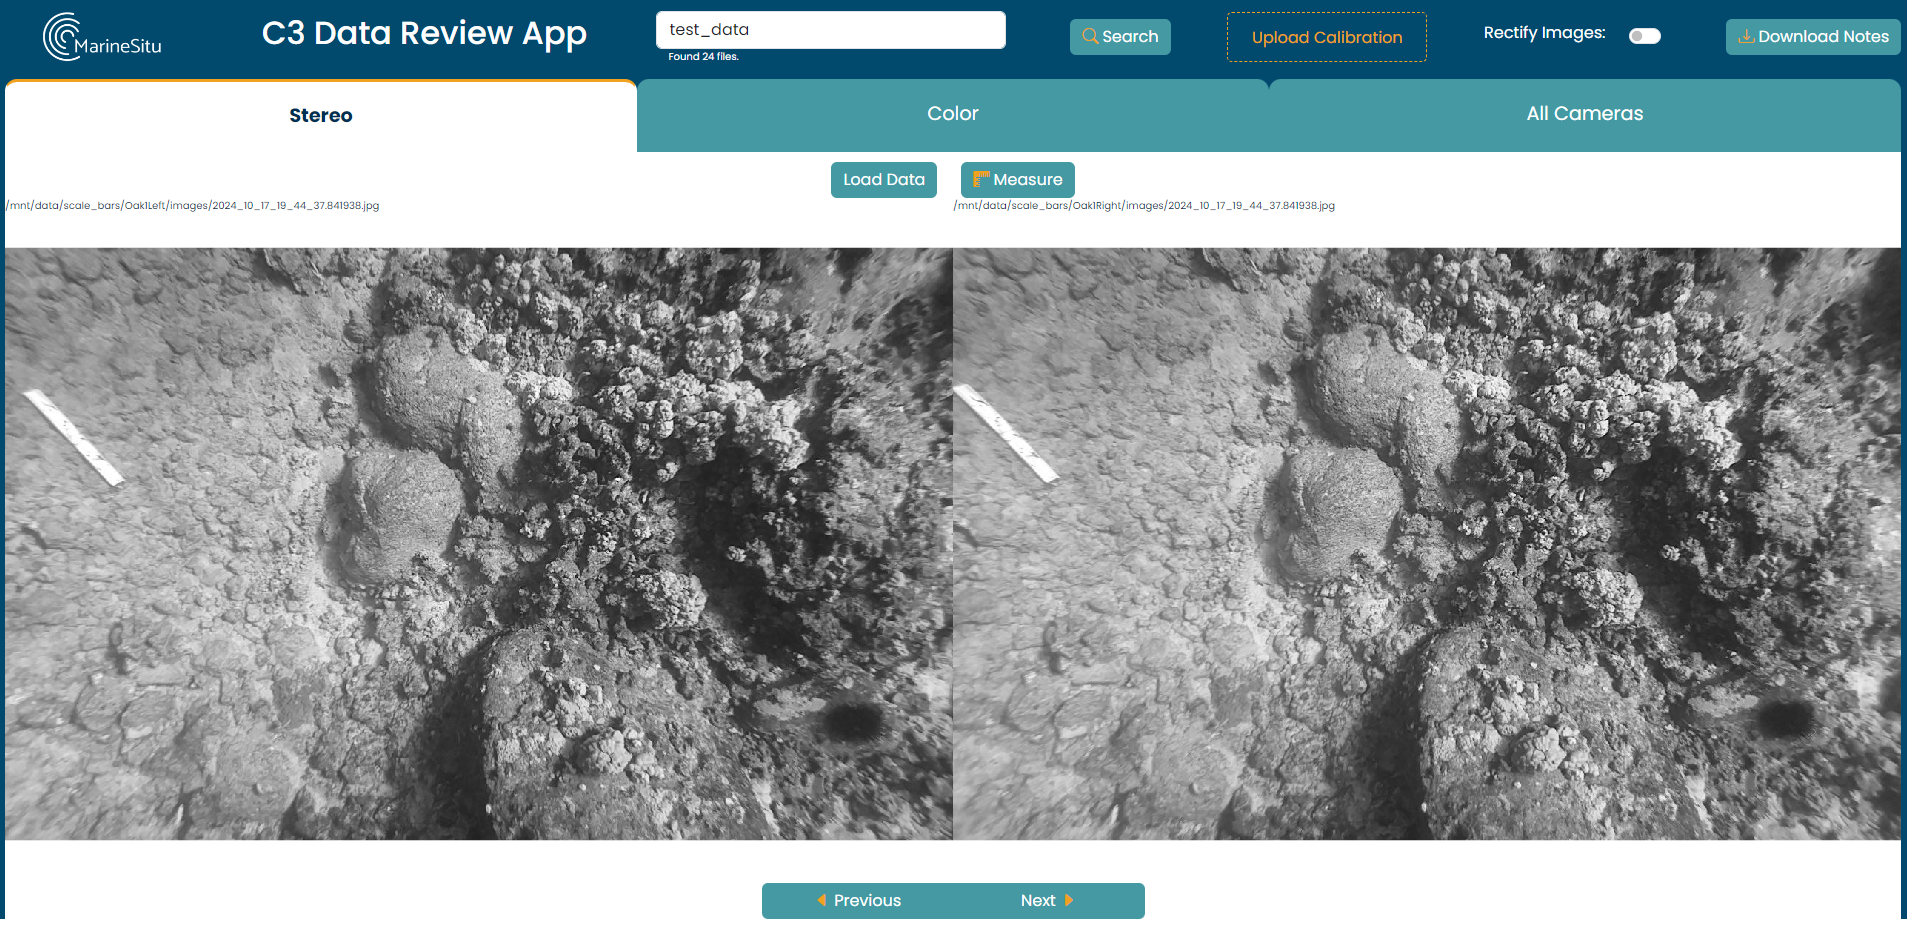
You can use the Next and Previous buttons or arrow keys to navigate through your images.
If your images are not timestamp synchronized from all instruments to within 5 ms, there will be a warning at the top of the screen, and a placeholder image will be shown for the missing data.
Annotating the Dataset
The C3 Review App offers two annotation options:
- Stereo Size Measurement
- Bounding Box Style Annotation
Stereo size measurement is offered on the stereo images, and the bounding box annotation is available on all images.
These are explained in more detail in Measuring and Annotating, but below is a quick overview of the methods.
To measure size, you'll draw a matching line on each of the stereo images and click Measure.
To annotate, you'll draw a box, and type a comment in the corresponding pop-up.